Installation and Administration Guide
This guide covers the installation of the Business API Ecosystem (BAE) version 8.1.0. The recommended procedure for the installation of the Business API Ecosystem is using Docker and the Docker images available in Docker Hub.
Installation with Docker
The installation with Docker requires the following:
As stated, the Business API Ecosystem in made up of a set of different components which work jointly in order to provide the functionality. In this regard the following images have been defined:
fiware/biz-ecosystem-apis: This image includes all the TMForum APIs and can be found in Docker Hub
fiware/biz-ecosystem-charging-backend: This image includes the Charging Backend component and can be found in Docker Hub
fiware/biz-ecosystem-logic-proxy: This image includes the Logic Proxy component and can be found in Docker Hub
fiware/biz-ecosystem-rss: This Image include the Revenue Sharing Component and can be found in Docker Hub
Local BAE deployment
The easiest way to deploy the Business API Ecosystem with Docker is using Docker Compose. There have been created a docker compose file that allows to deploy the Business API Ecosystem locally. Such a file can be found here
The local BAE repository deploys all the BAE components as well as a Keyrock instance that can be used as IDM. By default, local BAE requires an external network called bae that will be used by the different BAE components for communications. That network can be created with the following command:
docker network create bae
As an alternative, local BAE can be configured using the bridge driver, meaning that the different components will be assigned a port in the host machine and a local IP to access them. The bridge mode can be enabled uncommeting driver and IP configuration:
networks:
    bae:
        name: bae
        external: false
        driver: bridge
        ipam:
        config:
          - subnet: 10.2.0.0/16
The BAE can be launched with:
docker compose up -d
And terminated with:
docker compose down
The local BAE repository includes database initializations that will create a Marketplace application within Keyrock and having some pre-configured settings. In this regard, the local BAE will be ready to use in a local environment without further configuration.
As soon as the Logic Proxy component of the BAE is healthy, the marketplace page can be accessed in the 8004 of the host machine. The login can be done through the pre-configured Keyrock IDP using the initial test credentials:
Username: admin@test.com
Password: admin
New users can be created directly in the Keyrock instance available in the port 8080 of the host machine.
The configuration of the BAE can be updated using environment variables by updating the .env file or the environment files included in envs/ directory. For details on the different configuration options please refer to the
Data storage
The different images used as part of the Business API Ecosystem provide several volumes. Following it is described the different options available in each image.
The biz-ecosystem-logic-proxy image defines 2 volumes. In particular:
/business-ecosystem-logic-proxy/themes: This volume includes the different themes that can be used to customize the portal
/business-ecosystem-logic-proxy/static: This volume includes the static files ready to be rendered including the selected theme and js files
Additionally, the biz-ecosystem-logic-proxy image defines two environment variables intended to optimize the production deployment of the BAE Logic proxy:
NODE_ENV: Specifies whether the system is in development or in production (default: development)
COLLECT: Specifies if the container should execute the collect static command to generate static files or use the existing on start up (default: True)
On the other hand, the biz-ecosystem-charging-backend image defines 4 volumes. In particular:
/business-ecosystem-charging-backend/src/media/bills: This directory contains the PDF invoices generated by the Business Ecosystem Charging Backend
/business-ecosystem-charging-backend/src/media/assets: This directory contains the different digital assets uploaded by sellers to the Business Ecosystem Charging Backend
/business-ecosystem-charging-backend/src/plugins: This directory is used for providing asset plugins (see section Installing Asset Plugins)
/business-ecosystem-charging-backend/src/wstore/asset_manager/resource_plugins/plugins: This directory includes the code of the plugins already installed
Installing Asset Plugins
As you may know, the Business API Ecosystem is able to sell different types of digital assets by loading asset plugins in its Charging Backend. In this context, it is possible to install asset plugins in the current Docker image as follows:
Copy the plugin file into the host directory of the volume /business-ecosystem-charging-backend/src/plugins
Access the running container:
docker exec -i -t your-container bash
Go to the installation directory
cd /business-ecosystem-charging-backend/src
Load the plugin
python3 manage.py loadplugin ./plugins/pluginfile.zip
Restart the docker image
docker compose restart bae-charging
Manual Installation
Requirements
As described in the GEri overview, the Business API Ecosystem is not a single software, but a set of projects that work together for providing business capabilities. In this regard, this section contains the basic dependencies of the different components that made up the Business API Ecosystem.
TM Forum APIs and RSS requirements
Java 8
Glassfish 4.1
MySQL 5.7
Charging Backend requirements
Python 3.9
MongoDB 4.4+
wkhtmltopdf
Logic Proxy requirements
NodeJS 16+ (Including NPM)
Elasticsearch 7.5+
Installation
Installing TM Forum APIs
The different reference implementations of the TM Forum APIs used in the Business API Ecosystem are available in GitHub:
The installation for all of them is similar. The first step is cloning the repository and moving to the correct release
$ git clone https://github.com/FIWARE-TMForum/DSPRODUCTCATALOG2.git
$ cd DSPRODUCTCATALOG2
Once the software has been downloaded, it is needed to create the connection to the database. To do that, the first step is editing the src/main/resources/META-INF/persistence.xml to have something similar to the following:
<?xml version="1.0" encoding="UTF-8"?>
<persistence version="2.1" xmlns="http://xmlns.jcp.org/xml/ns/persistence" xmlns:xsi="http://www.w3.org/2001/XMLSchema-instance" xsi:schemaLocation="http://xmlns.jcp.org/xml/ns/persistence http://xmlns.jcp.org/xml/ns/persistence/persistence_2_1.xsd">
    <persistence-unit name="DSProductCatalogPU" transaction-type="JTA">
        <jta-data-source>jdbc/pcatv2</jta-data-source>
        <exclude-unlisted-classes>false</exclude-unlisted-classes>
        <properties>
            <property name="javax.persistence.schema-generation.database.action" value="drop-and-create"/>
        </properties>
    </persistence-unit>
</persistence>
Note that you should provide in the tag jta-data-source the name you want for your database connection resource, taking into account that it must be unique for each API.
The next step is creating the database for you API.
$ mysql-u <user> -p<passwd> "CREATE DATABASE IF NOT EXISTS <database>"
Note
You have to provide your own credentials and the selected database name to the previous command.
Once that the database has been created, the next step is creating the connection pool in Glassfish. To do that, you can use the following command:
$ asadmin create-jdbc-connection-pool --restype java.sql.Driver --driverclassname com.mysql.jdbc.Driver --property user=<user>:password=<passwd>:URL=jdbc:mysql://<host>:<port>/<database> <poolname>
Note
You have to provide you own database credentials, the database host, the database port, the database name of the one created previously, and a name for your pool
The last step for creating the database connection is creating the connection resource. To do that, execute the following command:
$ asadmin create-jdbc-resource --connectionpoolid <poolname> <jndiname>
Note
You have to provide the name of the pool you have previously created and a name for your resource, which has to be the same as the included in the jta-data-source tag of the persistence.xml file of the API.
When the database connection has been created, the next step is compiling the API sources with Maven
$ mvn install
Finally, the last step is deploying the generated war file in Glassfish
$ asadmin deploy --contextroot <root> --name <root> target/<WAR.war>
Note
You have to provide the wanted context root for the API, a name for it, and the path to the war file
Installing the RSS
The RSS sources can be found in GitHub
The first step for installing the RSS component is downloading it and moving to the correct release
$ git clone https://github.com/FIWARE-TMForum/business-ecosystem-rss.git
$ cd business-ecosystem-rss
$ git checkout v8.0.0
Then, the next step is coping, database.properties and oauth.properties files to its default location at /etc/default/rss
$ sudo mkdir /etc/default/rss
$ sudo chown <your_user>:<your_user> /etc/default/rss
$ cp properties/database.properties /etc/default/rss/database.properties
$ cp properties/oauth.properties /etc/default/rss/ouath.properties
Note
You have to include your user when changing rss directory owner
Once the properties files have been copied, they should be edited in order to provide the correct configuration params:
database.properties
database.url=jdbc:mysql://localhost:3306/RSS
database.username=root
database.password=root
database.driverClassName=com.mysql.jdbc.Driver
oauth.properties
config.grantedRole=Provider
config.sellerRole=Seller
config.aggregatorRole=aggregator
Note
The different params included in the configuration file are explained in detail in the Configuration section
Once the properties files have been edited, the next step is compiling the sources with Maven
$ mvn install
Finally, the last step is deploying the generated war file in Glassfish
$ asadmin deploy --contextroot DSRevenueSharing --name DSRevenueSharing fiware-rss/target/DSRevenueSharing.war
Installing the Charging Backend
The Charging Backend sources can be found in GitHub
The first step for installing the charging backend component is downloading it and moving to the correct release
$ git clone https://github.com/FIWARE-TMForum/business-ecosystem-charging-backend.git
$ cd business-ecosystem-charging-backend
Once the code has been downloaded, it is recommended to create a virtualenv for installing python dependencies (This is not mandatory).
$ virtualenv virtenv
$ source virtenv/bin/activate
To install python dependecies use pip tool
$ pip3 install -r requirements.txt
If you are planning to run the tests or develop, you should install the development dependecies:
$ pip3 install -r dev-requirements.txt
Installing the Logic Proxy
The Logic Proxy sources can be found in GitHub
The first step for installing the logic proxy component is downloading it and moving to the correct release
$ git clone https://github.com/FIWARE-TMForum/business-ecosystem-logic-proxy.git
$ cd business-ecosystem-logic-proxy
Once the code has been downloaded, Node dependencies can be installed with NPM
$ npm install
Final steps
Media and Indexes
The Business API Ecosystem, allows to upload some product attachments and assets to be sold. These assets are uploaded by the Charging Backend that saves them in the file system, jointly with the generated PDF invoices.
In this regard, the directories src/media, src/media/bills, and src/media/assets must exist within the Charging Backend directory, and must be writable by the user executing the Charging Backend.
$ mkdir src/media
$ mkdir src/media/bills
$ mkdir src/media/assets
$ chown -R <your_user>:<your_user> src/media
Additionally, the Business API Ecosystem uses Elasticsearch indexes for efficiency and pagination. You can populate at any time the indexes directory using the fill_indexes.js script provided with the Logic Proxy.
$ node fill_indexes.js
Running the Business API Ecosystem
Running the APIs and the RSS
Both the TM Forum APIs and the RSS are deployed in Glassfish; in this regard, the only step for running them is starting Glassfish
$ asadmin start-domain
Running the Charging Backend
The Charging Backend creates some objects and connections on startup; in this way, the Glassfish APIs must be up an running before starting it.
Using Django runserver
The Charging Backend can be started using the runserver command provided with Django as follows
$ python3 manage.py runserver 127.0.0.1:<charging_port>
Note
If you have created a virtualenv when installing the backend or used the installation script, you will need to activate the virtualenv before starting the Charging Backend
Using Gunicorn
The Charging Backend can be deployed in production using Gunicorn. To do that execute the following command
$ gunicorn wsgi:application --workers 1 --forwarded-allow-ips "*" --log-file - --bind 0.0.0.0:8006 --log-level INFO
Running the Logic Proxy
The Logic Proxy can be started using Node as follows
$ node server.js
Sanity check Procedures
The Sanity Check Procedures are the steps that a System Administrator will take to verify that an installation is ready to be tested. This is therefore a preliminary set of tests to ensure that obvious or basic malfunctioning is fixed before proceeding to unit tests, integration tests and user validation.
End to End Testing
Please note that the following information is required before starting with the process: * The host and port where the Proxy is running * A valid IdM user with the Seller role
To Check if the Business API Ecosystem is running, follow the next steps:
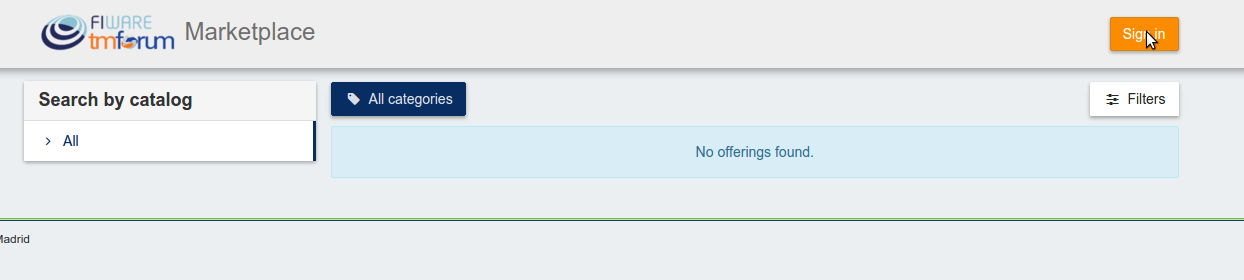
Open a browser and enter to the Business API Ecosystem
Click on the Sign In Button
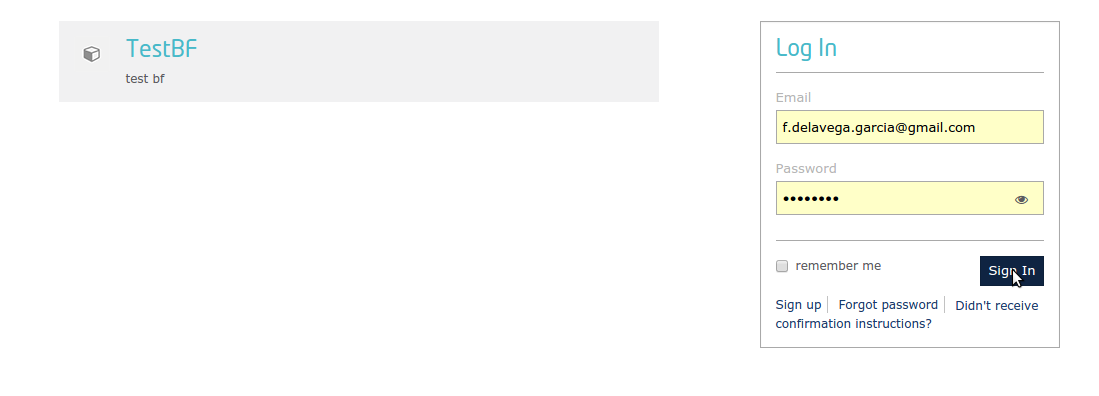
Provide your credentials in the IdM page
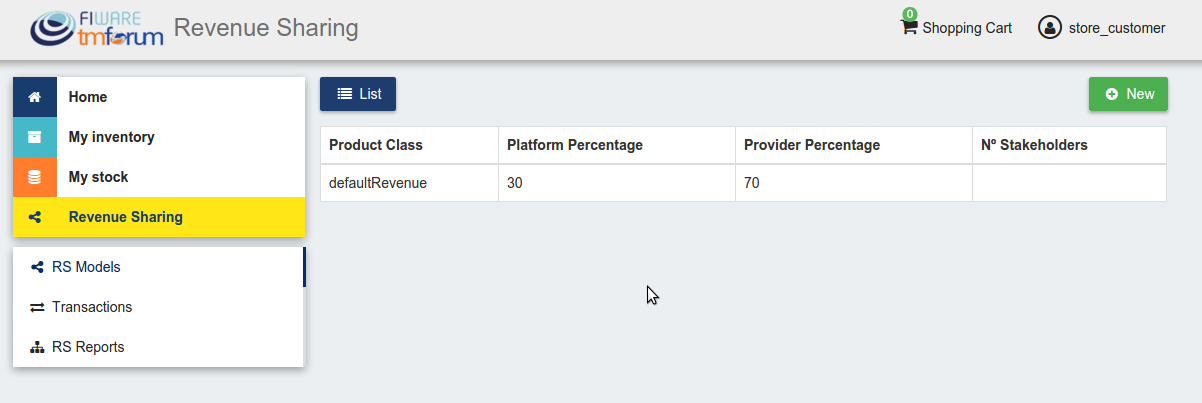
Go to the Revenue Sharing section
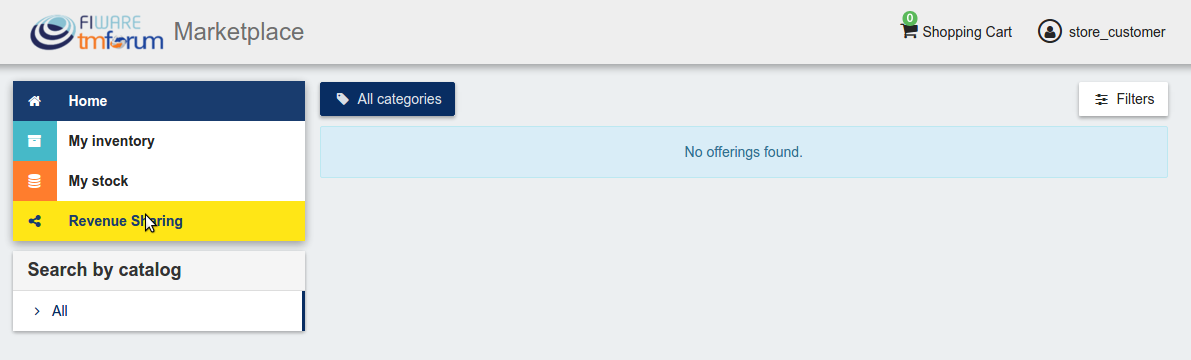
Ensure that the default RS Model has been created
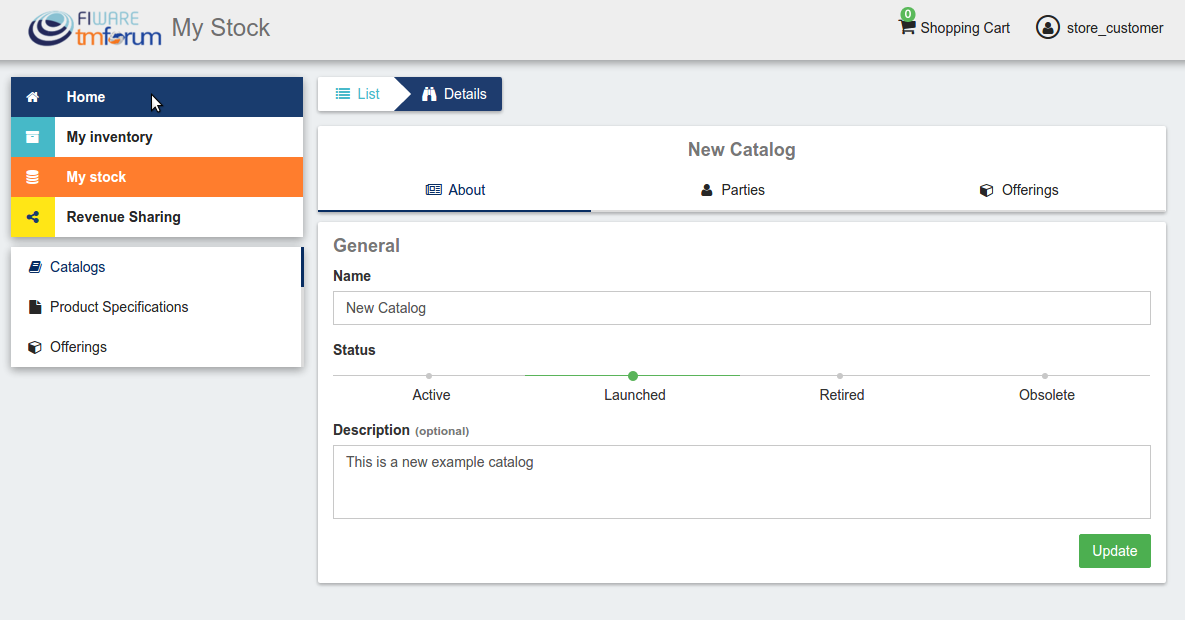
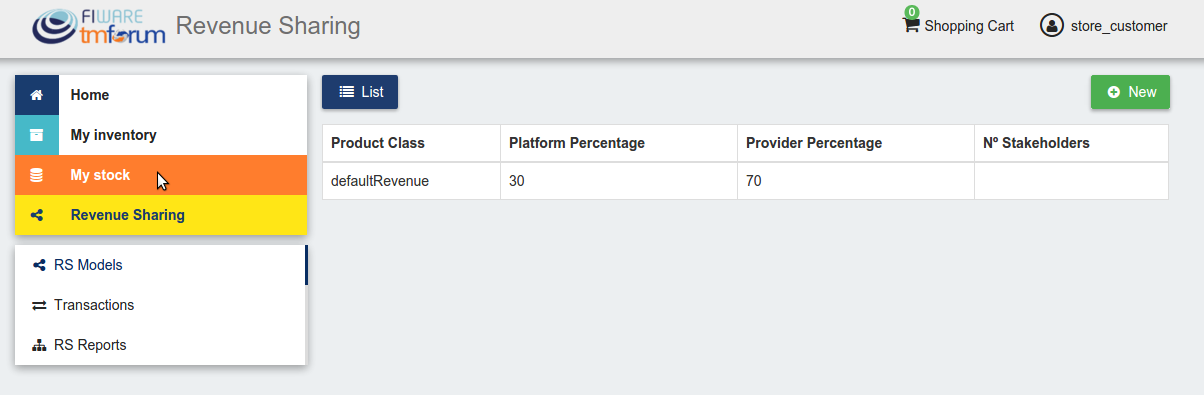
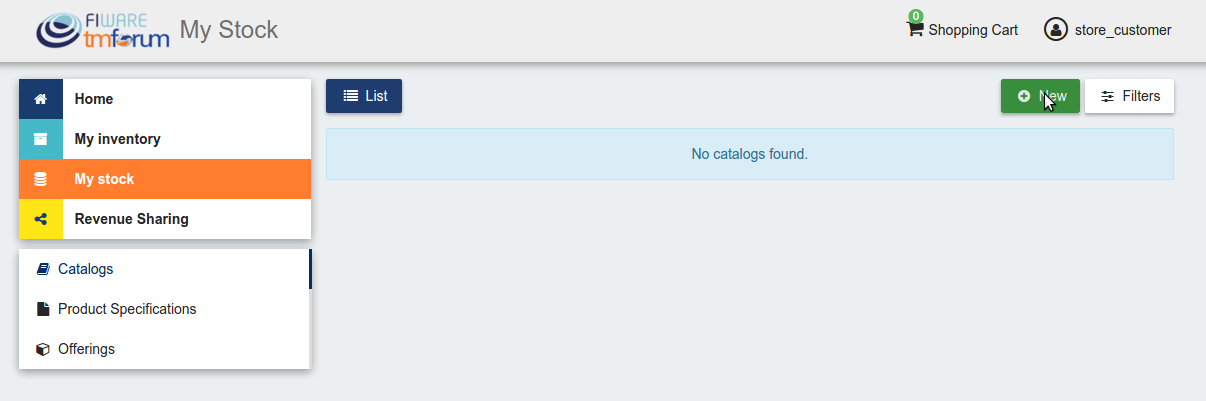
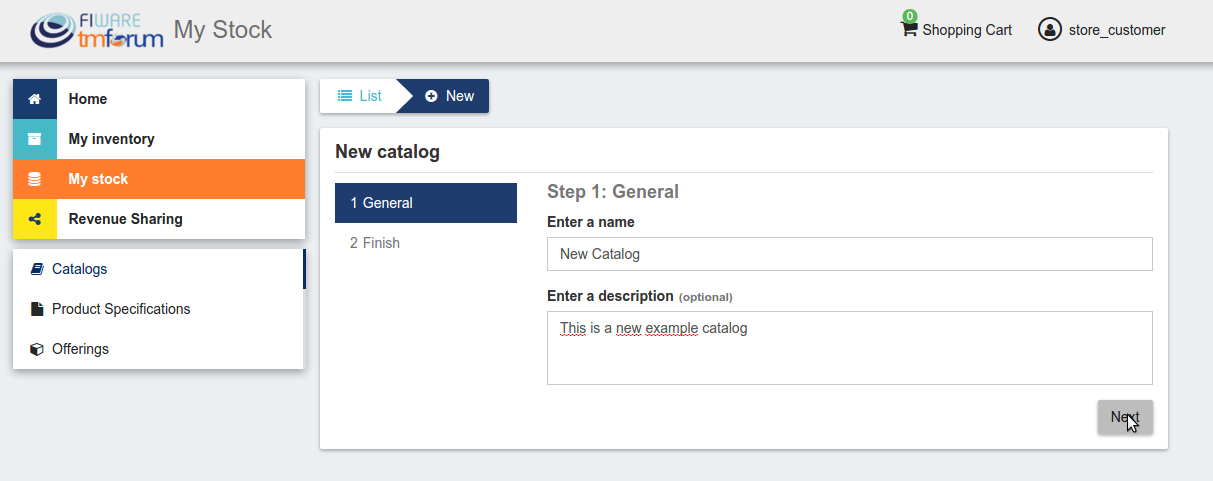
Go to My Stock section
Click on New for creating a new catalog
Provide a name and a description and click on Next. Then click on Create
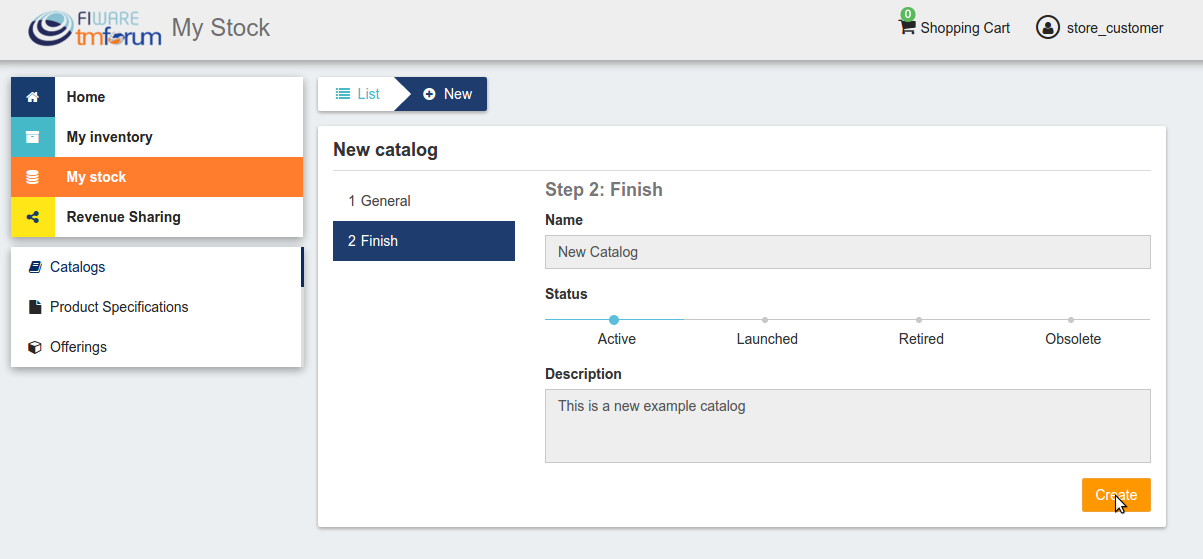
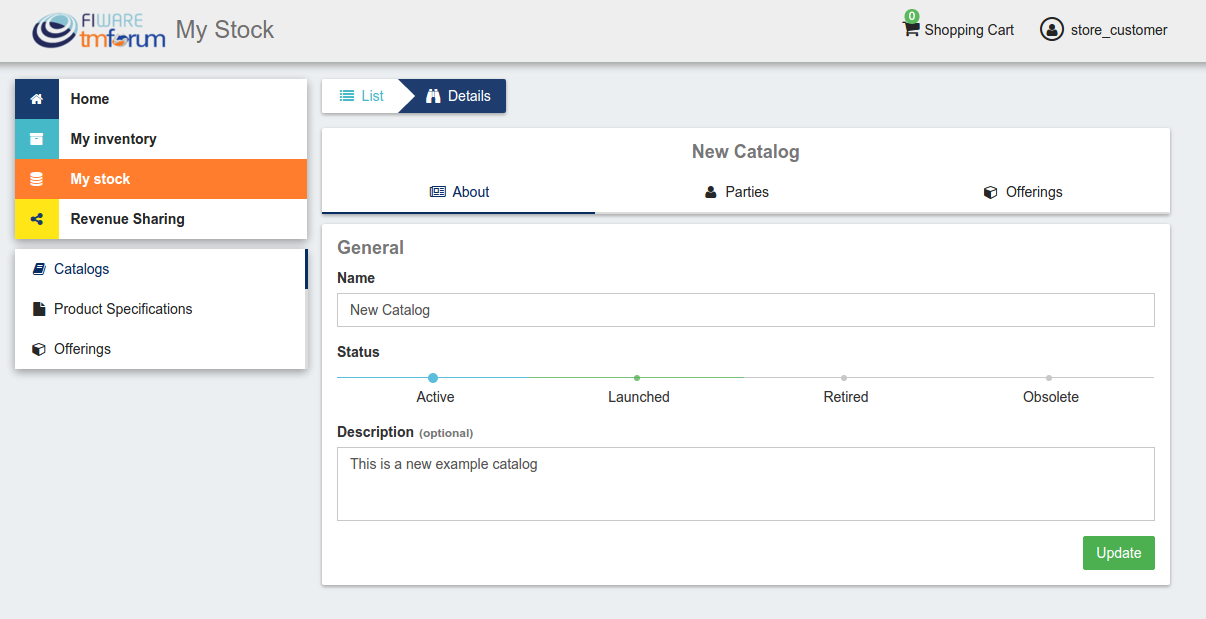
Click on Launched, and then click on Update


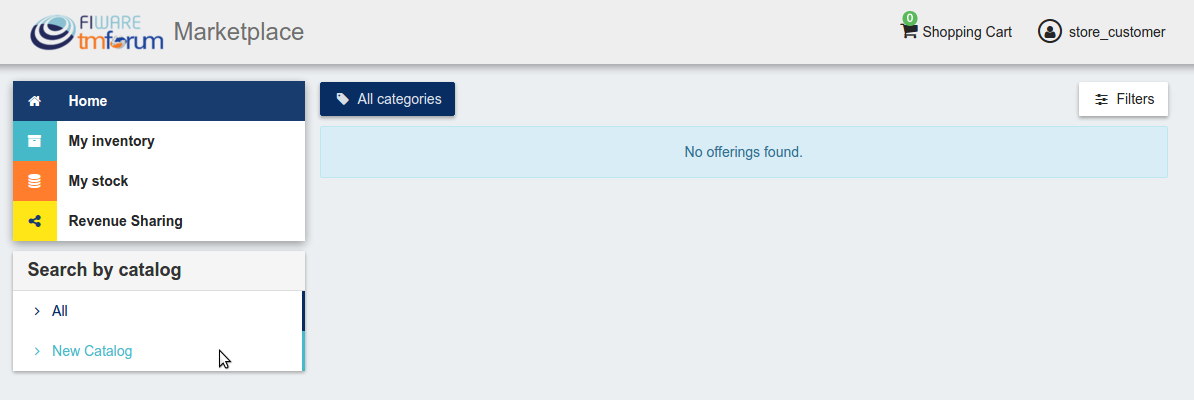
Go to Home, and ensure the new catalog appears